


Window Insulation Film
Installing energy-efficient, low-e windows and doors is an excellent way to improve a home's overall efficiency. This is easy when building a new green home, or renovating an older building, but replacing windows or doors can be very expensive. If new windows are not in the budget, there are ways to improve any window or door's energy performance, no matter how old they are.
Plastic Insulation Film
Older single or double pane windows can be huge energy hogs; if they have poor sealing around them the energy wastage can be even worse. Installing inexpensive plastic window insulation over them can cut way back on a home's energy usage, even if the plastic insulation is only up for the winter season.
Some people think putting plastic insulation over windows is tacky, or that it makes them look cheap. We think paying for heat that goes right out the window is even tackier, and a huge waste of money. If the plastic is installed correctly, it's hardly noticeable, but the money savings are.
Installing plastic window insulation is an inexpensive, simple way to conserve energy in any home. Depending on the type of furnace, and the home's location, homeowners can save as much as $20 per window every winter by putting up some plastic insulation. Putting plastic insulation over unused doors or sliders can save even more energy and money.
Installing The Film
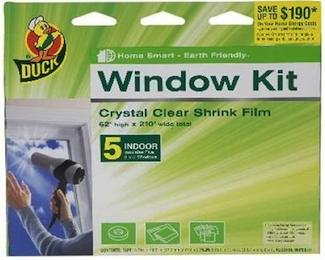
Plastic window insulation film is a very thin, clear film of plastic that is typically taped around a window. It's available at any hardware or home improvement store, at a cost of around $3 for an average size window.
Window plastic is simple to install. (If I can do it, and I do every year, anybody can!) Most window plastic is installed on the inside of the window. All that is needed is scissors, a blade, special two-sided tape (included with the plastic), and a hair dryer.
Clean the area around the window where the tape is to be applied with some rubbing alcohol. This will allow the tape to adhere firmly to the surface. The tape will stick easily to most surfaces (wood, vinyl, etc.) and come off without damaging them.
Once the tape is applied and the backing pulled off, the plastic is ready to go up. Measure and cut the plastic film to fit the window (it should be a few inches longer and wider to allow for shrinkage). Carefully apply the plastic to the tape, starting at the top of the window and working your way down. Go slowly to ensure the plastic is going on as smoothly as possible.
Once the plastic is in place, use the hair dryer to blow hot air at the plastic. This will cause the plastic to shrink and stretch tight across the window, making it virtually invisible. Make sure you are careful with the hair dryer; keep it moving across the plastic surface and don't get it too close or you will burn holes in the plastic. Keep the hair dryer at least 6" away from the plastic film at all times.
Use the blade to carefully cut away excess plastic on the edges of the window, then relax and watch the energy savings begin!
If you have windows with blinds, drapes, or other obstacles that make installing the plastic on the inside difficult, or if you just don't want the look of the plastic film in your home, there are outdoor window insulating kits available. They work much the same way as the indoor version, but don't require a hair dryer to shrink down the plastic.
Big Savings With Window Insulating Plastic
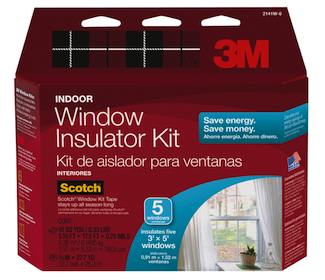
By cutting down on drafts, reducing air leaks, and keeping warm air in and cold air out, window plastic insulation is a simple and effective way to reduce energy costs. 3M, a major manufacturer of window insulating plastic, estimates that a home with 10 windows in Wisconsin could realize savings of $270 by installing window plastic insulation.
comments powered by Disqus